
A slight change in plans: I’m hoping to track down additional reference material for the carillon bells and their supporting structures. So instead of moving on to those right away, we’ll work on the library’s owls instead.
The owls are organic shapes – a change from the linear, architectural modeling we’ve been doing so far. More or less, of course: These aren’t real owls, but stylized forms carved in stone.

The stone owls, along with griffins and leaf forms, adorn the upper dome and façade of the library. According to Rebecca Resinski’s essay on the library’s architecture, these shapes would have been called akroteria by the Greeks, meaning “things high up” or “things jutting out.” She continues:
“The owls in particular have further significance. These birds’ ability to see in the dark was metaphorically extended in antiquity, so they came to represent wisdom, the ability to see difficult or obscure things.”
From their perch 148 feet above ground level, these akroteria can easily keep an eye on things, obscure or not, going on below.

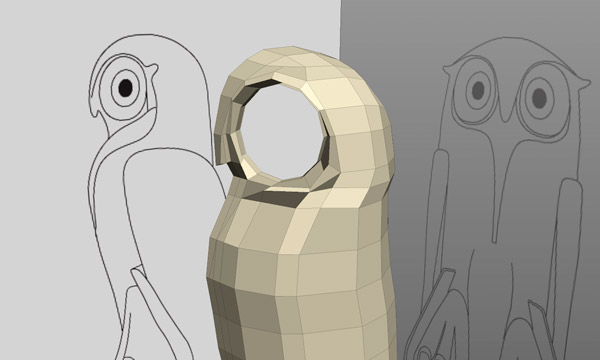
Two sketches are created – views of the owl from front and side – to guide us while we work on the model. They’ll be placed on image planes in Silo, the application that we’ll be using for this part of the project.
Silo is a low-cost application that essentially does one thing – 3D box modeling. You can learn more about Silo here.
Silo launches in a split second – a great thing if your professional life requires you to use software that can take several minutes to get up and running. (Adobe InDesign CC, anyone?) Its modeling tools are smooth, intuitive, and quick. It doesn’t do NURBS, it doesn’t do animation, it doesn’t even do rendering. But it does subdivision modeling very, very well.

With the image planes in place, we’ll start out by adding a simple cube to the scene. With a few clicks, we’ll begin to turn this into the owl’s head.

Silo is a subdivision modeling application. It turns polygon primitives, such as our cube, into organic shapes by subdividing each face into multiple faces. Two levels of subdivision divide the cube’s six faces into 96 faces (6 * 2 2+2), creating a ball shape.

Another level of subdivision makes the shape smoother, and we can lop off the bottom and tweak it to approximate the owl’s head.

Another primitive, a cylinder, is added to the scene, then subdivided and reshaped to form the owl’s torso. The two meshes are merged, and the right side of our fledgling owl is deleted. Since the form is symmetrical, we’ll work on the left side, then mirror it back out when we are done to create the finished model.
A wide, short cylinder is added to create the owl’s left eye. After being nudged into position, it too is merged to the main mesh.

The open end of the cylinder is closed and extruded several times to form the stylized cornea and pupil . . .

. . . and a tiny, owlish ear is extruded above the eye.

Several edges (the seams between the polygons) are rerouted to flow more naturally around the owl’s form, and new topography is extruded to form the breast, wing, foot, and leg plumage. This is the most difficult part so far and takes some time.

Now we can mirror out the right side and merge the two halves, restoring the completed mesh. We’re about 90 percent done. The mesh will be moved into Maya and finished there.

In Maya, more edges are rerouted (or removed), and the feet, brows and ears are adjusted. Maya’s displacement painting tool — which lets you reshape the subdivided mesh as if it were made of putty — is used to smooth everything out.
Done! You can see a rendering of the model at the top of this post. Our feathered friend is ready to be added to the main scene.