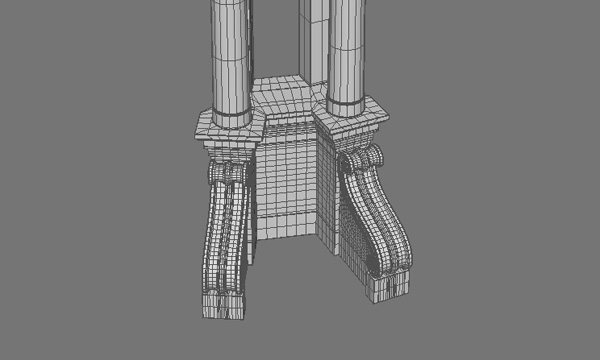
When we last left it, our model of the library lantern consisted of a single column section. The plan is to make 11 additional copies of this section and merge them to make a single mesh. We’ll create connecting sections that will become the sills and lintels of the windows between the columns.
First we’ll do a test to make sure that the columns will fit together as intended. Very quickly, we can make 11 copies using the center of the lantern as the origin. Each copy is offset from its neighbor by an angle of 30 degrees.

When this is compared to photos of the lantern, it’s apparent that some adjustments need to be made. For example, the base of the column needs to be narrower, and the capital needs to be wider. The extra copies are deleted and the mesh is corrected, then duplicated again to make two sections. Now we can bridge the gap between the sections with polygon meshes.

There’s a problem, though. The edges of the bridging sections are perfectly straight, while in reality they follow a circular arc. Maya’s bridge tool is capable of creating curved shapes, but a few tests show that in this case it’s probably more trouble than it’s worth. The sills and lintels, with their overhangs, notches and ledges, are complex shapes. Each edge must follow a different arc, depending on its distance from the center of the lantern. We need another solution.

Here’s what I came up with: A set of centered, circular curves, each scaled and positioned to match one of the edges. Once those are in place, the edge vertices are repositioned horizontally to match the curves.
It sounds tedious, but the work goes very quickly.

Once the bridges are complete we can duplicate the section again to create the exterior shape of the lantern. This time, we can weld all the pieces into a single mesh.

To make the cupola we use the same technique used to make the candlestick. After switching to the front orthogonal view, we trace one side of the cupola on the library drawing with Maya’s curve tool.

The curve is revolved to make a polygon mesh that can be attached to the main body of the lantern.
With the cupola in place, we can make a new rendering to give us a better idea of how the lantern exterior looks at this point.
